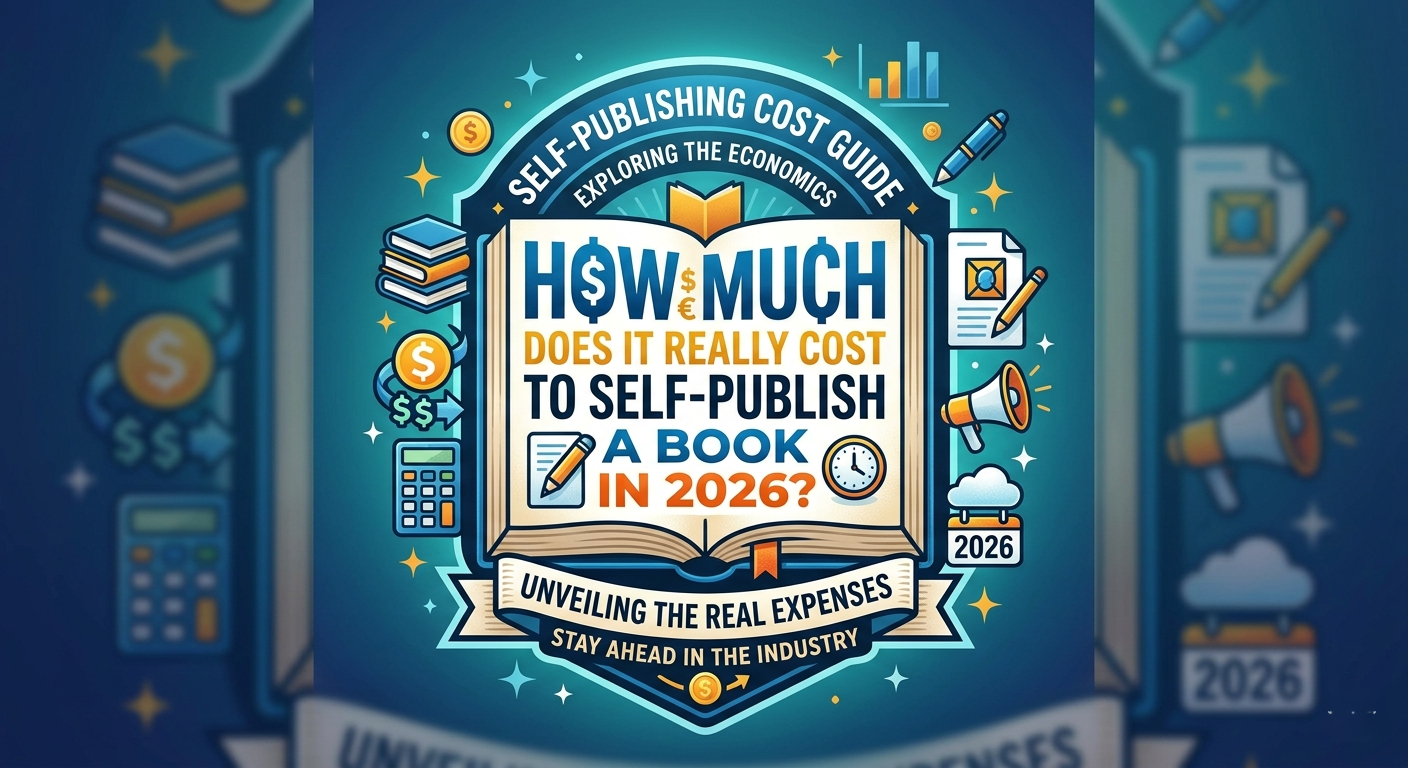
How Much Does It Really Cost to Self-Publish a Book in 2026?
Self-publishing costs range from $500 to $5,000+. Here's a realistic breakdown of what you'll spend on editing, covers, formatting, and marketing.
The first question every aspiring self-published author asks: "How much will this cost me?" The honest answer: it depends on what you invest in — but you can publish a professional-quality book for less than you think.
The Non-Negotiables
Professional editing: $500–$3,000
This is the one place you should never cut corners. Readers can forgive a mediocre cover. They won't forgive typos on page three. Budget for at least copy editing ($300–$1,500) and proofreading ($200–$800). Developmental editing ($500–$3,000) is recommended for debut novels.
Cover design: $200–$1,500
Your cover is your #1 marketing asset. It's the first thing readers see and the biggest factor in whether they click. Hire a designer who understands your genre. Pre-made covers start around $200; custom designs run $500–$1,500.
The Smart Investments
Formatting: $0–$300
Tools like Atticus ($150 one-time) or Vellum ($250 one-time, Mac only) let you format ebooks and print books yourself. Free options exist but are less polished. Hiring a formatter runs $50–$300 per book.
Author website: $0–$80/month
Your website is your long-term marketing asset. AuthorLoft starts free and includes everything an author needs. Custom domains and direct sales start at $39.99/month — less than most website builders that don't include book-specific features.
ISBN: $0–$125
Amazon assigns free ASINs for KDP. Your own ISBN ($125 from Bowker, or $295 for 10) lists you as the publisher. Optional for ebooks, recommended for print.
The Realistic Budget
TierBudgetWhat You Get Minimum viable$500–$1,000Copy editing + pre-made cover + free formatting + free website Professional$1,500–$3,000Full editing + custom cover + professional formatting + author platform Premium$3,000–$5,000+Developmental editing + premium cover + audiobook + marketing budget
The investment pays for itself if you're selling directly. On a $9.99 ebook with 97% margins, you recoup a $1,500 investment after ~160 sales.
Step‑by‑step publishing checklist
Use this as a linear path from “finished draft” to “post‑launch.”
Phase 1: Manuscript readiness
Finish your draft
Goal: Complete story from beginning to end.
Check: No missing scenes, no “TK” placeholders.
Self‑edit
Pass 1: Big picture (plot holes, pacing, character arcs).
Pass 2: Line‑level (clunky sentences, repeated words).
Pass 3: Typos and obvious errors.
Beta readers (optional but recommended)
Recruit 3–8 readers in your target audience.
Ask for feedback on clarity, engagement, and pacing.
Collect and prioritize changes.
Decide on editing level
Developmental edit? (especially for debut novels)
Copy edit + proofread? (non‑negotiable)
Book your editor
Get quotes and timelines.
Reserve a slot 4–8 weeks in advance.
Send cleanest possible draft to reduce cost.
Phase 2: Editing and revisions
Developmental edit (if applicable)
Receive editorial letter + in‑document comments.
Revise structure, scenes, and character arcs.
Let the manuscript rest a few days, then re‑read.
Copy edit
Editor fixes grammar, clarity, consistency.
Review changes and accept/adjust as needed.
Ask questions where you’re unsure.
Proofreading
Final pass after copy edit and before formatting.
Catch lingering typos and small errors.
Phase 3: Cover and visual identity
Define your genre and positioning
Primary genre + subgenre.
Study top 20 covers in your category.
Note common colors, fonts, and imagery.
Choose your cover path
Pre‑made cover (budget)
Custom cover (professional/premium)
Brief your designer
Genre + comps (similar books).
Tone (dark, cozy, epic, romantic).
Key visual elements (magic, city, couple, weapon, etc.).
Series info (if applicable).
Approve final cover
Ebook cover.
Print wrap (front, spine, back).
Social media and ad versions (optional).
Phase 4: Formatting and metadata
Choose your formatting approach
DIY with Atticus/Vellum/other tool.
Hire a formatter.
Prepare your front and back matter
Title page.
Copyright page.
Dedication (optional).
Acknowledgments (optional).
“Also by” page.
Reader magnet / email signup page.
Author bio.
Format ebook
Check:
Chapter breaks.
Table of contents.
Scene breaks.
Paragraph styles.
Orphans/widows (for print).
Format print interior
Choose trim size (e.g., 5x8, 5.5x8.5, 6x9).
Set margins and line spacing.
Ensure page numbers and headers are correct.
Assign ISBNs (if using your own)
One ISBN per format (ebook, paperback, hardcover, audiobook).
Register metadata (title, author, category, description).
Write your book description (blurb)
Hook: 1–2 sentences.
Body: 2–4 short paragraphs building intrigue.
CTA: “Perfect for fans of…” or “If you love X, you’ll enjoy…”
Choose categories and keywords
2–3 primary categories.
7 keywords/phrases that match your genre and tropes.
Phase 5: Platform and pre‑launch
Set up your author website
Home page with your main book.
Books page with covers + links.
About page with bio + headshot.
Email signup form with reader magnet.
Create your reader magnet
Free first‑in‑series, prequel, bonus story, or resource.
Upload to your delivery system (e.g., AuthorLoft, BookFunnel).
Set up your email list
Welcome sequence (3–5 emails).
Tag subscribers interested in this book/series.
Create your book’s landing page
Cover.
Blurb.
Pre‑order or “coming soon” info.
Email signup for launch notification.
Countdown (optional).
Plan your ARC campaign
Decide how many ARC readers (20–50 is a good start).
Create signup form.
Prepare ARC delivery (EPUB/PDF).
Draft ARC instructions (timeline + review links).
Set pre‑order (optional)
Upload final or near‑final files.
Set price and release date.
Use pre‑order link in all pre‑launch content.
Phase 6: Launch preparation
Create your launch content calendar (2–4 weeks)
Cover reveal.
Excerpt teasers.
Behind‑the‑scenes posts.
Character or world spotlights.
Countdown posts.
Launch day announcement.
Review roundups.
Write your launch emails
Pre‑launch “it’s coming” email.
Launch day email (most important).
3–7 days post‑launch follow‑up.
“Review request” email.
Prepare graphics
Social media graphics (cover, quotes, countdown).
Website banners.
Newsletter images.
Confirm all store listings
Check price, categories, description, and cover on:
Amazon.
Other retailers (if wide).
Your own store (if selling direct).
Phase 7: Launch week
Send launch day email
Clear subject line (“It’s here.” / “New book out today.”).
Strong hook.
Buy links.
Personal note.
Review request.
Post launch announcement on social media
Use multiple formats (post, story, reel, etc.).
Include cover + link.
Pin the post where possible.
Remind ARC readers
Short, grateful reminder with review links.
No guilt, no pressure — just clarity.
Monitor and respond
Check for early reviews.
Thank readers who tag you.
Answer questions and comments.
Phase 8: Weeks 2–4 (post‑launch momentum)
Share reviews
Pull quotes for graphics.
Share screenshots (with names blurred if needed).
Include in newsletters and on your website.
Do outreach
Podcasts.
Guest blog posts.
Newsletter swaps with other authors.
Create related content
Blog posts tied to your book’s themes.
Q&A about your process.
“Behind the scenes” threads or posts.
Re‑engage your list
Email readers who opened but didn’t click.
Offer a sample chapter or bonus scene.
Ask for reviews from those who bought.
Evaluate performance
Sales by format and channel.
Email open and click rates.
Ad performance (if running ads).
What worked, what didn’t.
Document your process
Note timelines, costs, and results.
Update your budget calculator with real numbers.
Refine your checklist for the next book.
· Ready to take back control? ·
Own your author business starting today
Keep 100% of every sale and own every reader relationship — no middleman.
Get Started Free